

Now, we get to the fun part, making a plan for all this stuff. I really like the idea of creating a design that includes everything I want to see in a school year and then repeating it, each year. Today's post included the first page, front and back. I chose to use pocket-style pages. They will be mostly hybrid, but some may be full 12x12 prints of layouts, as well. This all stemmed around the fact that I had been buying an 8x10 school picture and 8x10 class picture each year starting in pre-kindergarten. I really wanted to stick with 12x12 page layouts, and not add in an 8x10 insert for those. I wanted them to be part of the pocket page layouts.

Enter Stage Right: The Fuse Tool. I kept thinking about it and would it be worth it, creating custom pocket pages to make my idea work? I loved the idea too much not to try it. I played around in Photoshop Elements to see what kind of two-sided pocket page would work well and then got to it.

I watched some Youtube videos to get some tips for my first trial with the Fuse. I decided to also invest in the glass cutting mat and a longer metal ruler since I would be working with full 12x12 protectors. (Note: I bought a 12" ruler, but I suggest getting a 15" ruler) I inserted an 8x10 photo into the protector and positioned it where I wanted it, then fused a pocket around it. From there, I continued to complete my pocket page design. (HINT: When printing your other cards, measure the pocket and adjust your card size)

This two-sided page will be my first page each year. Here is the front. It has the 8x10 portrait school photo. I made a little title card to go in the bottom skinny pocket that showcases the grade and teacher's name.

I used a "Wonderful You" paper for a background to put the 2nd Grade title on, which is from "Through the Years." The teacher's name is spelled out with the "Blackboard Alpha". I chose to make a 4x6 card with photos of her two main teachers this school year in the upper pocket, again using "Wonderful You" paper and elements.


I had to make a decision to be ok with the back page being read sideways. This type of thing typically bugs me, but I loved the custom pocket page idea so much that I got past this. So, the landscape class photo backs up to the school photo and here, I put in a "first day of school" picture, along with another card from "Wonderful You" that I will have Audrey fill out (now, because she just finished this grade!).
I'm pleased with this set up and plan to repeat it for each year for each child. Hope this gave you some ideas! I will be back soon with more progress on this album set-up. We have to do something with all those photos of school memorabilia that we took.
Here are a few affiliate shopping links to the items I have used in this project. Affiliate links do not cost the buyer anything more and send a few cents to the blog. Thanks!
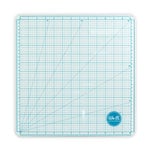
We R Memory Keepers - Precision Glass Cutting Mat
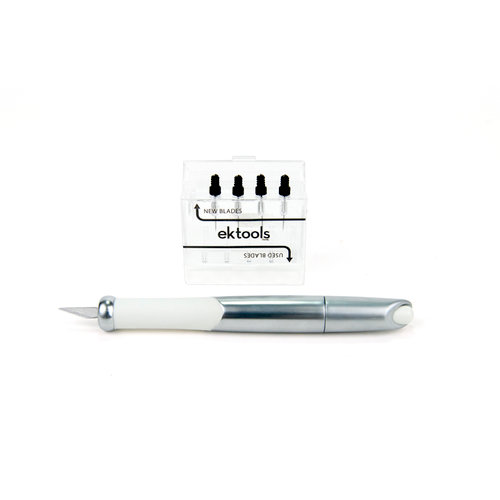
EK Success - EK Tools - Retractable Knife and Blades

15" Metal Ruler (click on picture above)

12x12 3-ring Page Protectors
No comments:
Post a Comment