
First Item: In my previous post, I hastily mentioned a very helpful, amazing PS/PSE action that I'm using. Actually, it's a script that you, too, can install. Here's how it works: You create your digital 12x12 Project Life layout and if you are going hybrid, like moi, you want to print individual 4x6 pieces to put in your physical pocket pages. Now, the easy way to do this (note: I did not do it this way, of coarse) is to then save the file as a jpg so that it's all one layer, run the script and waa-laa, it sends (6) 4x6 jpg's to the same folder where the original file resides. Neat. Easy-peasy. Done and done. Ok, I'll stop dragging on, go here and download it. Anika's blog has some good stuff. She also has a video for the simple way of using the script. She's an engineer and as far as I'm concerned a genius. I haven't explored her whole blog. Probably more stuff we want there. Start following her. You'll thank me. You're welcome. Oh, and she's a PLJunkie Creative Team Member. Since there are over 10,000 members in the facebook group, I'm guessing you know what I'm talking about.
Back to that nagging question that I know you all are asking (or not, but I'm sharing anyways). What is it she is doing and WHY ON EARTH not do it the easy way? Well, the short answer is that I'm a complicated woman, people, like most creative types. The actual concrete answer is that since I'm doing two types of books (refer to previous blog post), I have certain needs. It might be less complicated to just tell you "I'm complicated". For my parents' Shutterfly book, I want the straight-forward- stitched-template-with-rounded-corners look.
 |
| Shutterfly Version with rounded corners |
- Create Shutterfly version with rounded corners

- Save it. In fact, just upload that to Shutterfly now as a way to back it up, just in case the unthinkable happens. I won't even say it out loud. Bad juju.
- Save as new file. Adjust the 12x12 layout so it fills the page edge to edge with no rounded corners. I undo all the masks and turn off the stitch pattern to make it work. (Turn on the grid to help line it up, but don't sweat it. Don't try to get it perfect because you will be trimming them down anyway)

- After getting them squared off, I put any journaling cards together and photos together. That way, I can print journal cards on cardstock and photos on photo paper. It's just smart.

- Now you save again as a jpg.
- Finally, you are ready to run the script on that jpg. Go to File, Automation Tools, and (if you've installed it) it will show up as "Save 12x12 to 6x4"
Print on cardstock
Print on photo paper
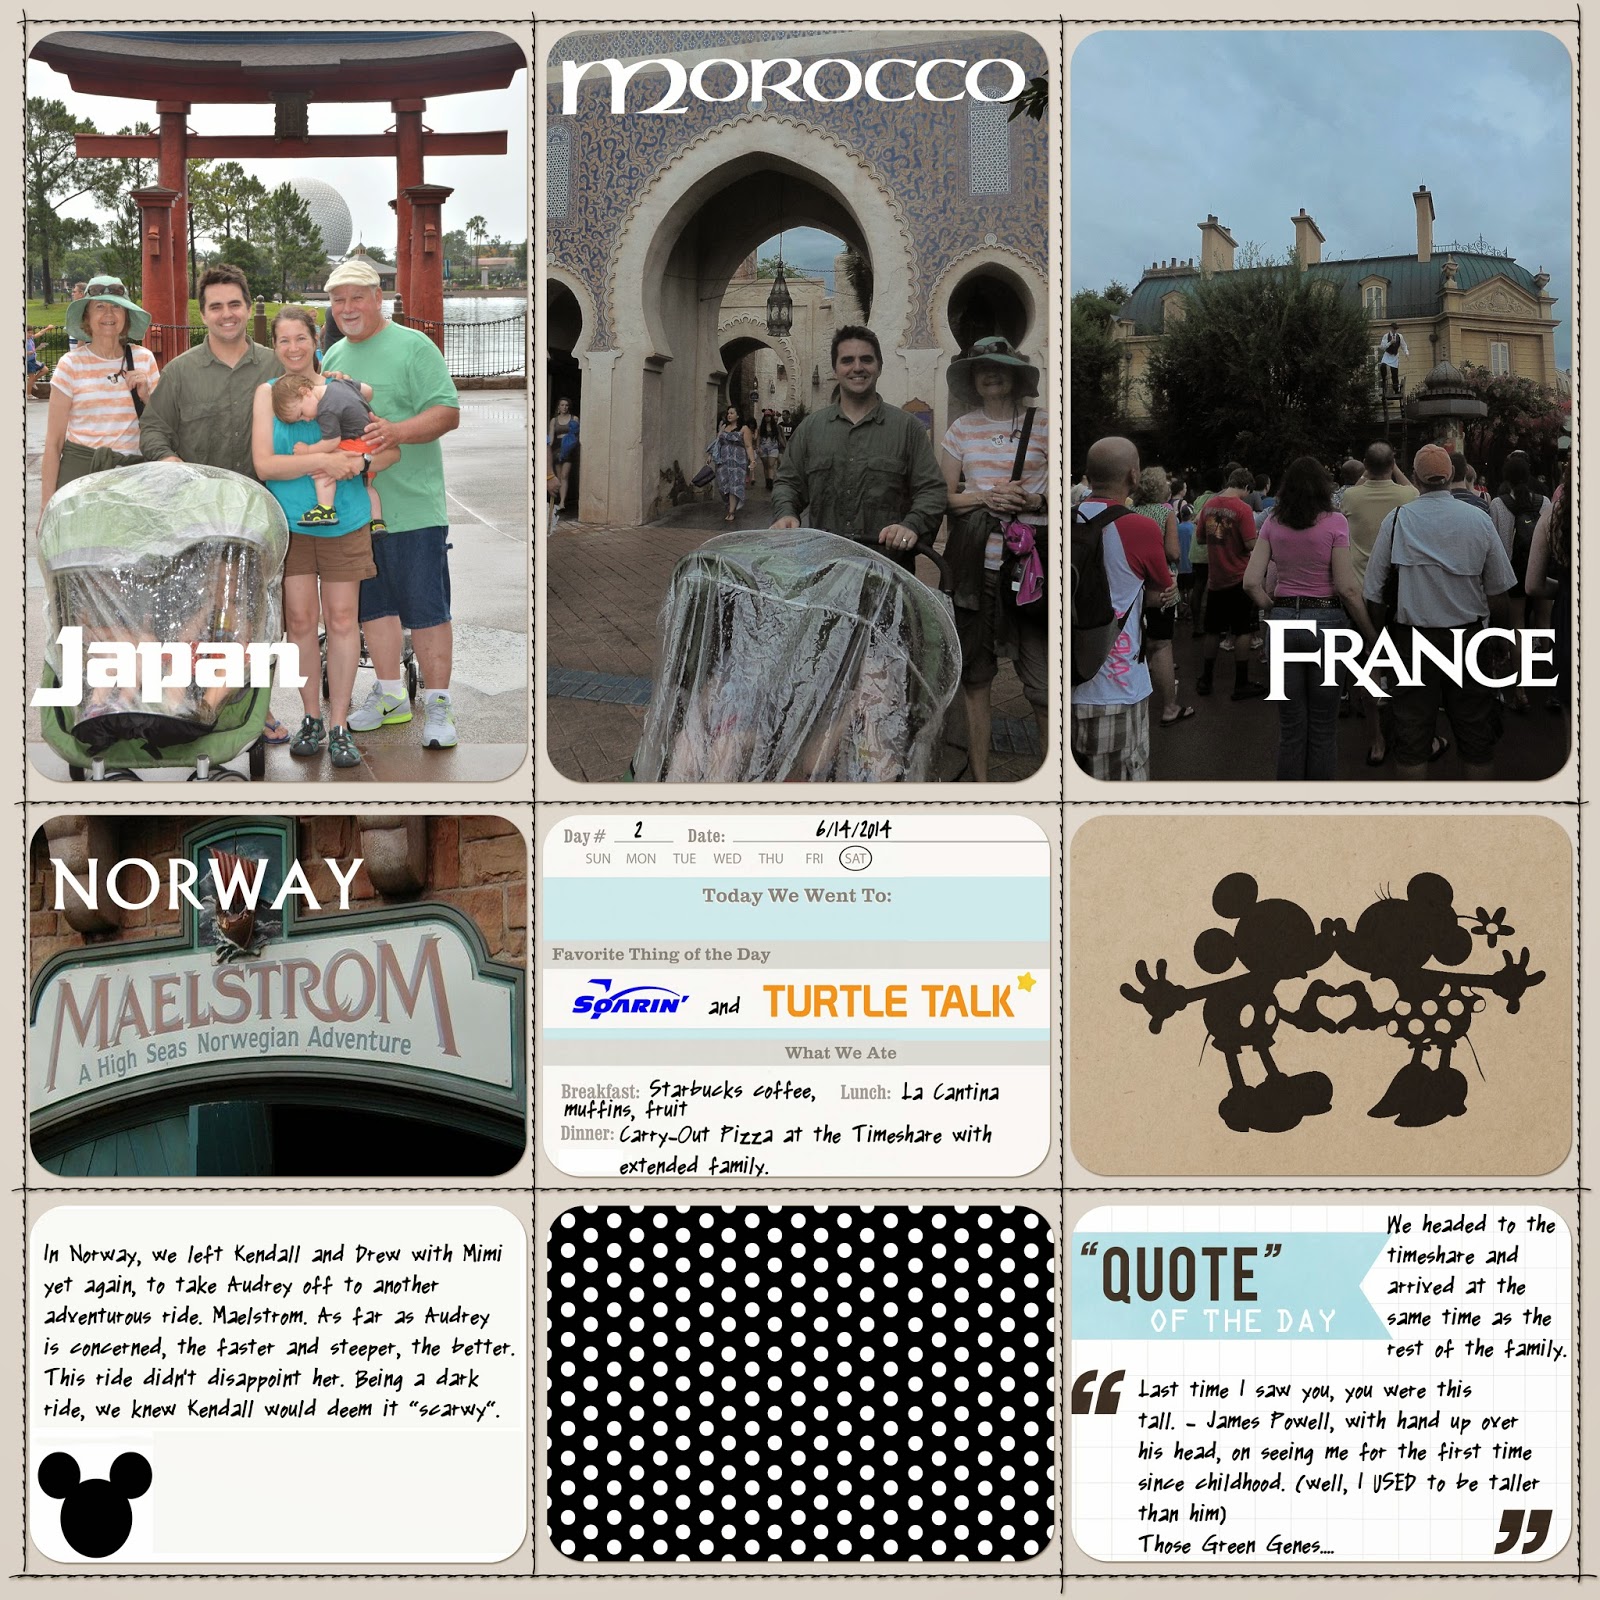
Second Item: All of my Disney Album templates are the stitched grid pocket pages designed by Traci Reed. Love them. They just look great with anything. It's like the little black dress of digi-scrapping. This is the set of templates that I am using in the Shutterfly book version. My co-blogger, Luly Gonzalez, (sidenote: I thought I made that word up, "co-blogger", but I didn't. Apparently, it's all the rage. So, go find a best bud and get co-blogging. It's a hot new thing. At least, I'm trying to make it a thing. Pass it on.) Luly, she's my co-blogger, remember? She introduced me to Traci Reed (well, not LITERALLY, but you know, her stuff.) Check it out. Good stuff.
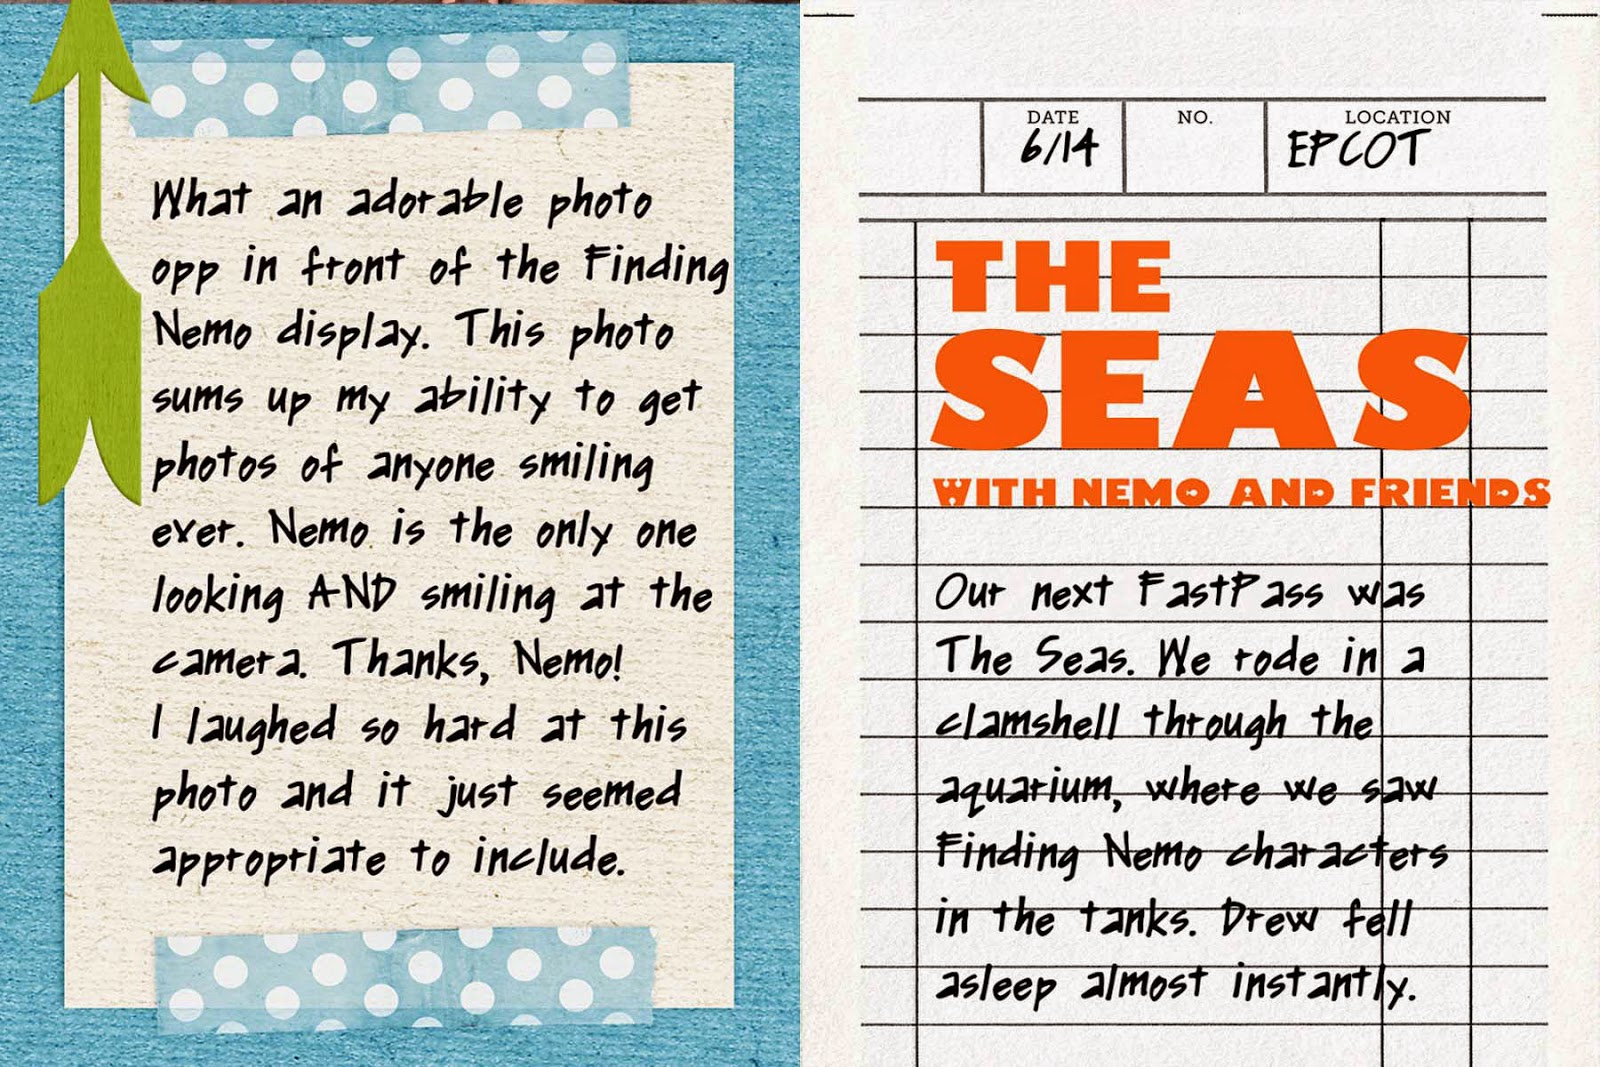
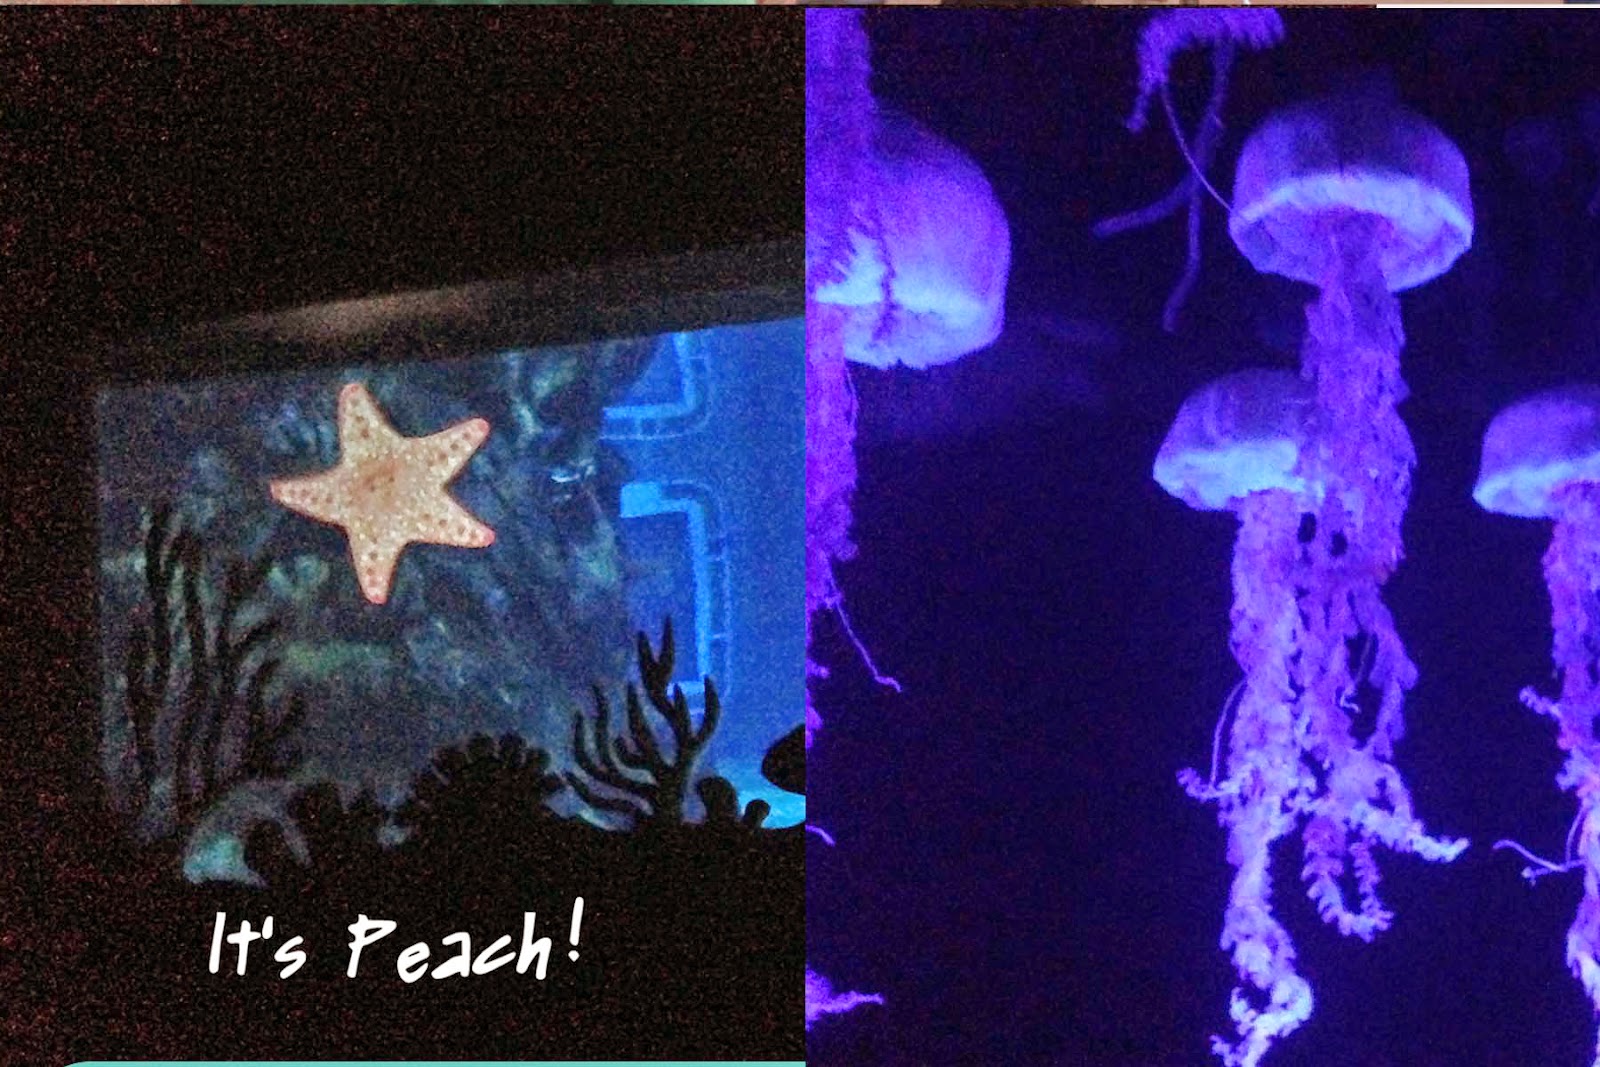
Third and FINAL item: Another freebie. Our first day, if you noticed by the pictures or because I probably already said it, was at Epcot. I found some free fonts that matched the rides we did and places we visited there. Super fun to use. Go grab them right HERE. (And btw, WDW Prep School is a brilliant resource for planning a trip to the happiest place on earth)

Our next day was at Animal Kingdom, so come back soon to see what I'm using for those pages. Fun safari stuff.
 |
| Fun Epcot Fonts in use. |
WOW! What a busy time you guys had on this trip! Love your pages!
ReplyDeleteThanks, Mandy! It was a whirlwind of a trip. Loved it. And LOVE scrapbooking it.
DeleteGreat pages and love all your journaling! I have that script as well but never remember to use it, thanks for the reminder!
ReplyDeleteThanks, Sandy! That script has been a lifesaver for me. So efficient. Thanks for stopping by!
Delete