Wednesday, October 19, 2016

How I use the Project Life App to Plan and Keep Up in my Physical Albums

Are you a physical Project Lifer? I know, I like holding and creating physical layouts. It gives me joy. Think you have no need for the Project Life app? Think again. I'm going to share with you how I use it to aide in my physical pocket page layouts.

Project Life App for planning physical pages - Holly www.paintedladiesjournal.com


It's not just about pre-planning my pages. It's also a way for me to get some journaling done while it is still fresh in my mind. I love capturing the details that I know I won't remember later. 

I'm not going to go into how to create layouts, there are lots of good ones out there. Becky Higgins has done it here.  I'm going to show you how I organize and set myself up to print the photos. I will note that I don't worry too much about which journaling cards I am using in my app layouts because I usually use something different later, BUT sometimes it's so perfect I just print the journal cards, too.

Project Life App for planning physical pages - Holly www.paintedladiesjournal.com


So after you have created your page, you can save it by the date the photos were taken. Click on the "More Options" under "Completed Pages".

Project Life App for planning physical pages - Holly www.paintedladiesjournal.com


From here, you will click on the page you want to update and select "Update Page Info"

Project Life App for planning physical pages - Holly www.paintedladiesjournal.com


Correct the date to match the layout photo date. There is a spot for a "name", too. I usually put in here a code "PPx", meaning that I have uploaded the photos to Persnickety Prints for this layout.

Project Life App for planning physical pages - Holly www.paintedladiesjournal.com

You want to either export these and save them by date in a Dropbox folder (I do this so I can flip through them easily in order and see what type of pocket page I need next, if it's not the typical Design A.) or leave them all in the PL app. Then, you can go back and refer to the layout configuration and the journaling when you sit down to scrap.
Project Life App for planning physical pages - Holly www.paintedladiesjournal.com

I have a folder in Dropbox called "Project Life" where I save them by year-month day format so they save in chronological order.

Project Life App for planning physical pages - Holly www.paintedladiesjournal.com

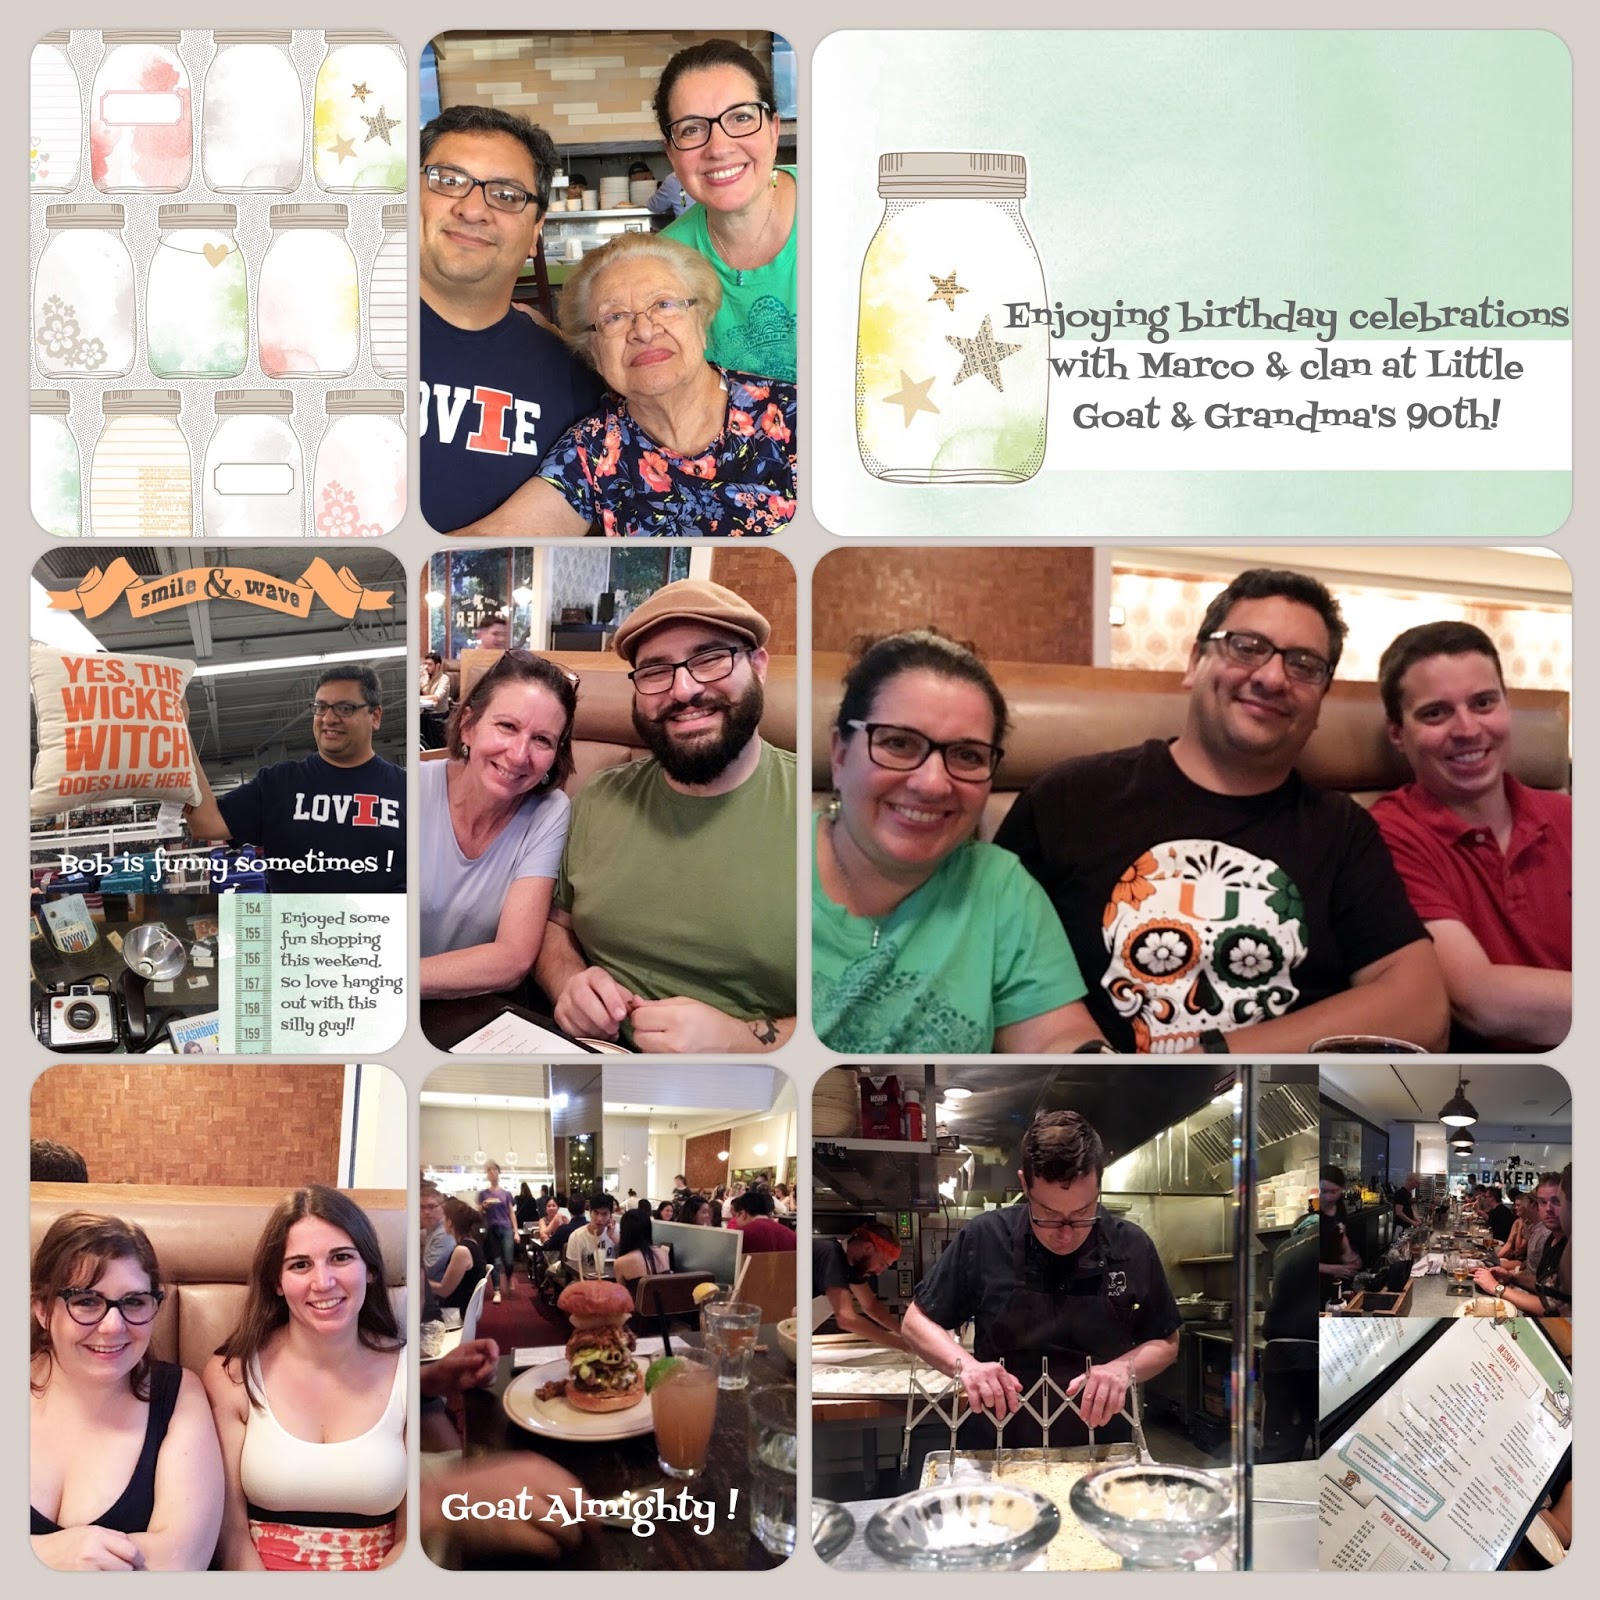
Next up, order those photos, if you are batch ordering from a service like Persnickety Prints. And when they arrive, do the happy dance and start filling in your pocket pages!! I just love white borders!

Project Life App for planning physical pages - Holly www.paintedladiesjournal.com

Now, I like to skip around and do which ever page goes with what products I'm excited to work with. Eventually, it'll all be done and in chronological order. Look at all those pages layed out and ready to be scrapped. The best part!

What is your process for getting photos in your albums? I know this may seems unusual but my process has totally evolved for the better (for me) over the last year. It's working and I love it. I'd love to hear your ideas for getting your photos printed!

And if you want more ideas for using the Project Life App as a physical scrapper, Becky Higgins wrote a great article showing lots of other great uses the apps specifically for this. Find it here.

Go here to purchase this app (this is an affiliate link, thanks! Affiliate links send a few pennies my way and do not cost the purchasers anything extra)

PROJECT LIFE APP iOS
Project Life - Becky Higgins LLC

This is my favorite editing app - the brighten action is worth the whole app.
PicTapGo - Totally Rad! Inc.

Thursday, October 13, 2016

Project Life - A Day at the Theme Park (Part 2)

Project Life Pages by Holly Genc www.paintedladiesjournal.com
I'm back with Part 2 of our day at Great America. It was a full day, packed with lots of great photo opportunities. I'm not a weekly scrapper, so the occasional multi-page spread works out for me. Go here to see the first part of this blog series.

Project Life Pages by Holly Genc www.paintedladiesjournal.com


These pages use a combination of the last of my Take 10 Kits and some MAMBI cards from my stash.
Project Life Pages by Holly Genc www.paintedladiesjournal.com


In Part One of this series, I talked about how I printed my journaling with the Selphy. If you'd like to know how I created my journaling to print on the Selphy, I have a tutorial right here.


Project Life Pages by Holly Genc www.paintedladiesjournal.com

Hope you enjoyed this series of Theme Park Layouts!


Holly with www.paintedladiesjournal.com
Follow me on Facebook and Instagram! Below you will find a few affiliate links of my favorite supplies. Affiliate links kick back a small amount of money to the blog, and cost the buyer nothing extra. Thanks for your support!


My favorite apps for editing photos and creating 3x4 collages:

PICTAPGO for editing. The lighten is awesome on any photo.
PicTapGo - Totally Rad! Inc.


PICSTITCH (paid version is needed to create thicker white borders - so worth it) for collages.
Pic Stitch - #1 Photo and Video Collage Maker - Big Blue Clip, LLC


  CANON MG7520 Wireless Color Cloud Printer with Scanner and Copier, White (Discontinued By Manufacturer)


  Canon Photo Paper Plus Glossy II, 4 x 6 Inches, 400 Sheets (2311B031)

Canon Selphy 1200 printer

Monday, September 26, 2016

In the Orchard

Fall is just around the corner in my neck of the woods. We are still having warm days, but rain and chilly weather pop up, too (Welcome to Chicago weather). What better time than now to share some Apple Picking Layouts with you? Are you going to an orchard soon? Have you already been? We love this family activity.
In the Orchard, Amber LaBau Digi LO's by Holly Genc of www.paintedladiesjournal.com

Amber LaBau Designs has a wonder kit to document your day at the orchard. It's called In the Orchard, and you can find a list of all supplies linked at the bottom of this blog post. I came home with so many photos from that day that I decided to do two two-page spreads. Above is the first page. I wanted to use a larger photo for the first page, so I grabbed a template to achieve that. This is no new tip, but in case you haven't heard it, I always try to take at least a few pictures that have a lot of sky or grass. That way, I have a great background for a title.

In the Orchard, Amber LaBau Digi LO's by Holly Genc of www.paintedladiesjournal.com

The bottom right corner is a 4x6 template that I modified to fit the theme. (link at bottom of this post). Templates are a great way to get a little more into your layout!

In the Orchard, Amber LaBau Digi LO's by Holly Genc of www.paintedladiesjournal.com
I used another large scale photo on the next layout, using a photo of my daughter holding a cute little apple she picked out in front of her. I love the look of a repeated stamp, like I did here with the "Apples" stamp in the elements kit.
In the Orchard, Amber LaBau Digi LO's by Holly Genc of www.paintedladiesjournal.com
I had so many stories to squeeze in from this memorable day! Write them down, or record them somewhere so that you have them when you are ready to scrap. (Or ask your sister with the better memory, as I did.)

In the Orchard, Amber LaBau Digi LO's by Holly Genc of www.paintedladiesjournal.com
Page 1 and 2 together.

In the Orchard, Amber LaBau Digi LO's by Holly Genc of www.paintedladiesjournal.com
Here is Page 4. As you can see, I am a pocket page scrapper. I used a lot of the cards from the In the Orchard Pocket Cards set, but I also like to add items from the coordinating paper collection, as in the top right card in this layout. I also used papers in the middle card below.
In the Orchard, Amber LaBau Digi LO's by Holly Genc of www.paintedladiesjournal.com
And here is the final layout. I really had to narrow down my photos from the day. I chose the best quality ones and the ones that told the story I wanted to document.
In the Orchard, Amber LaBau Digi LO's by Holly Genc of www.paintedladiesjournal.com
Layouts 3 and 4, side by side.

I hope I've inspired you to document your apple orchard adventures, or to get out and go apple picking!

Holly Genc 
Amber LaBau Creative Team Member
Original Post can be found at www.amberlabau.com

Supply List:
In The Orchard | Papers      In The Orchard | Elements

In the Orchard Papers                 
In the Orchard Elements           
In the Orchard Pocket Cards
Cork-abet Alphas

4x6 Template from the DISCOVER Memory Pockets Monthly

Friday, September 23, 2016

Project Life App roundup

I've been doing lots of catching up on my  Project Life for 2016 in the last week since Becky Higgins had a sale on her kits in the Project Life app. Don't know about the app, here is some additional
info on Becky's website. 

The app is the handheld version of Becky's Project Life memory keeping system. You can make it as complicated or as simple as you like. Daily, weekly, monthly or event scrapping. Whatever is the most important for you to document- this system can help you- and you can include lots of pictures or stories. 

I think part of the reason I've been so inspired is that I really took a look at some of the kits again with a fresh set of eyes. When the app updates come out- I somehow convince myself that I don't need that kit ... However at $.99, they were much easier to buy even for just a few cards that I love within a kit. 

I am nearly a 100% Digi scrapper so I already use lots of tools to make using the PL App easier. I use Dropbox and lots of phone editing tools on my phone and editing tools on my laptop/ computer. I even got an Eye-Fi card recently ( I am still learning about this great tool to allow DSLR photos transferred directly on your phone or computer) to make my process easier. 

I am fortunate to be on a few CT teams so I try to use photos that I want to scrap as part of my assignments, but that still leaves me with lots of photos and gaps in my documenting. I am not sweating a weekly format, but pretty much I end up with nearly a page or 2 a week.  

So back to my new love of the app. The most recent update allows you to directly edit your photos in PicTapGo, an app by RadLab. It has been LIFE CHANGING - I know it seems an extreme statement but I love the ease of not having to move in and out of the app to edit photos. Plus my biggest pet peeve is photos that are
croocked. You can fix that in PicTapGo too!! Wow!! Now you really can complete a page while riding in a taxi or waiting at the airport. ( and even finish a blog post!)

So let me get started on sharing some of my recent goodies. 

I often look at the primary photos I want to document and I pick a page protector from that. If I have few more pictures to include I use the collage function in the PL App to create a collage for one of the pockets. Her Design A and Project 52 2016 Edition by Amber LeBau with the Project 52 overlays. 

 Here is used Design A again but with a collage in the bottom left. To document our Scrapbook Expo day! Card kit is Currently edition by One Little Bird. 


I actually went out on a limb and combined 2 kits with another Design A, ha! Inspire has the beautiful watercolors and Everyday edition by Liz Tamanaha has great black and white cards! I used Phonto to add the curved text and the title with a white background for the title. 


Went back to an oldie but goodie using Cobalt edition cards and a photo collage. I used Photo here ( but you can use Rhona Designs and several others) to add text to your photos. One trick I use when the photo is too busy for my text to stand out is to use a very transparent grey box behind the text. All done in Phonto. 


Love this page using Design U with the doors of San de Allende, a beautiful colonial town near Mexico City. I used just one card from the DIY Shop value kit and some great elements from Rhona Designs to add just the right touch to this page.  So many great photos and I was able to tell the story of our trips on other pages so this one really just needed photos!


Here to document pages from my sons graduation I used Capture Life kit and Squared Away 13 template. This kit has some great square card options which not all kits do. However one trick I learned is starting with a standard size,  say Design A for example or using a larger spot on your current template, and then you can then move a 4x6 or 3x4 card to that slot. 
I also really liked how I was able to use my panoramic photo on both photo slots on the bottom of this template. 


The newest app update has blank solid colored cards which match each kit. There are so many possibilities! You can use it to add additional journaling right in the PL App or Phonto or Rhonna Designs if you have a different font that you want to use. One of my favorite things that I have done as a scrapper is to have my handwriting turned into a font. It's a great way to document yourself in a lasting way- especially when you are a Digi scrapper!

Another great option for these blank cards is as a base for all the cool graphics and word art that are available in apps like Over and LetterGlow. I love some of the options out there. Why not take advantage of all the great designs out there by professional graphic designers to add a little sumpthing sumpthing to finish off your page. 


I'll close this post up with a few more PL app page goodies to share! Hope you all have a great weekend - take lots of pics so that you can scrap them on your Phone!