Showing posts with label coloring stamps. Show all posts

Monday, April 18, 2016

Happy Day Stamp and Washi Tape Tip!

Hi Crafty Friends! How did you use your exclusive "lucky" wood veneer from Studio 29 Designs, LCC March Take 10 Kit? I love how thin it is. 


I contemplated using the other similar blue 4x6 card in that upper left spot, but I just have too many photos I wanted to use (typical me). That photo especially needed to stay because that would be the last time we visited that neighborhood establishment (which had been there since our younger times first living in the city) before it was sold to become something else. I'm a little sad about that but excited to see what new place is coming.


I chose to back my "lucky" veneer with a stamped image from one of the stamp sets this month in the shop, called Happy Day.


I stamped the outline image of the branches on white cardstock first, and colored the leaves in with my  Stampin' Up Stamp & Write marker set. Next, I stamped the solid branch image in a little shade of bluish-green over top. Then, I fussy-cut it out to layer behind that wood veneer.


I love that this marker set is double ended (fine point and brush tip). I use them for journaling, stamping, and coloring! If you don't have a Stampin' Up demonstrator, you need one and I've got one for ya. Mary Talbot is one of my besties: Stampin' Up - Mary Talbot. Another little "something about Mary", she makes really awesome planner stickers that you can find on Etsy. Follow her on IG for the info: www.instagram.com/plannerwhimsy 


I used the washi tape from the kit, but I wanted it to be skinnier strips for this application. I have a little tip to share about washi tape that rocked my world the first time I heard it (I don't remember where that was, or I'd give them credit!) Woo Hoo! It peels right off and isn't stuck to your scissors or anything else.


I love little tips like that. What little tip do you have that you wish you knew before?


Other posts you may like: 


I use a Canon Pixma to print at home. Here are a few affiliate links, if you so chose. I print some of my photos and home any journaling I decide to print.


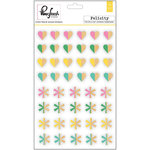
Pinkfresh Studio - Felicity Collection - Block Wood Stickers - Color Hero Arts - Kelly Purkey Collection - Ink Pads - Urban

Monday, April 11, 2016

Pocket Page with March Take 10 Kits

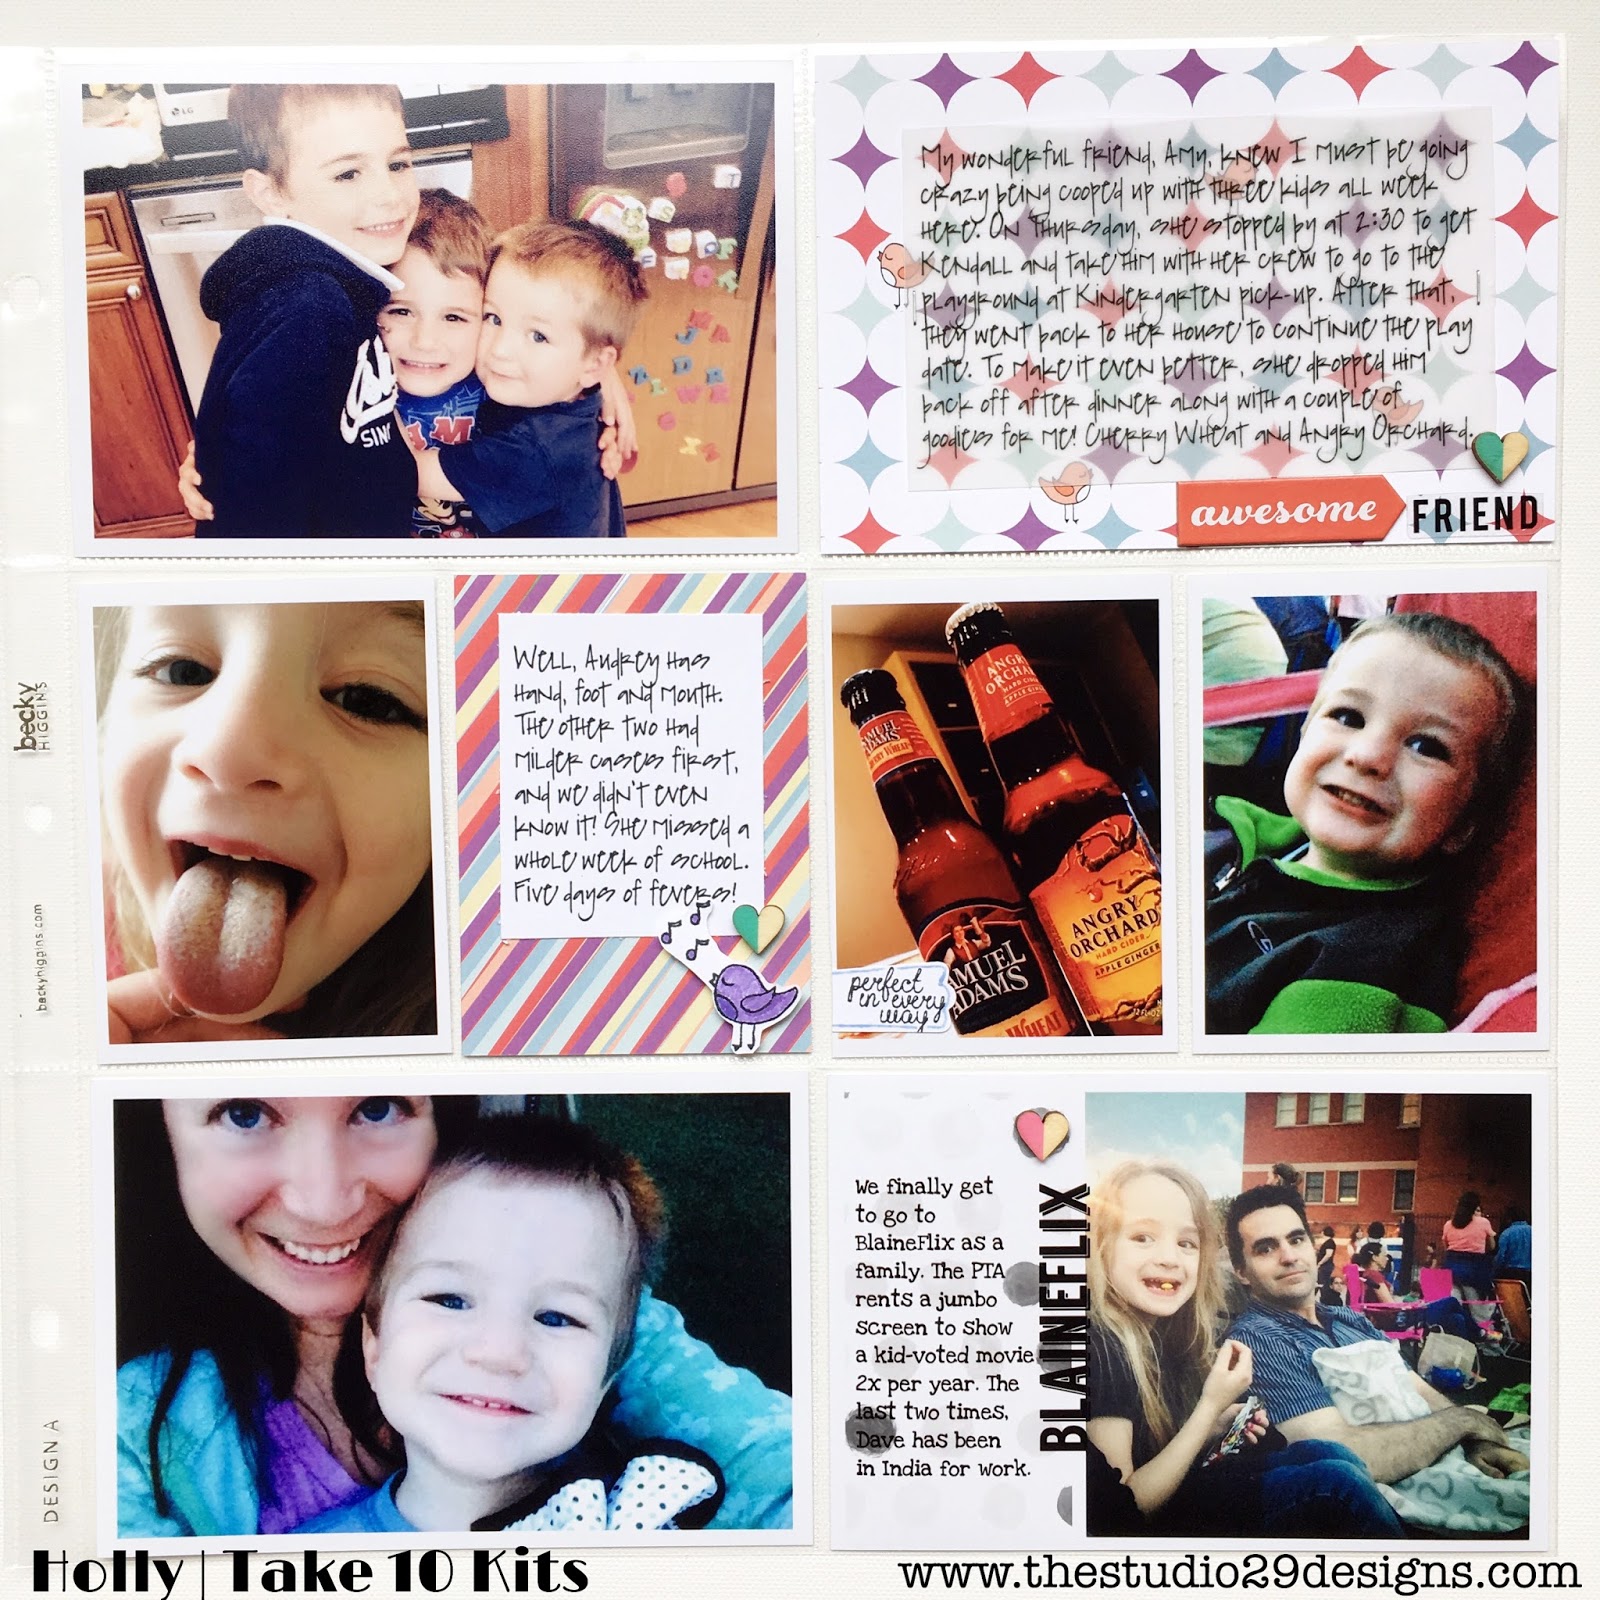
Today's layout inspiration is a typical Project Life layout. A little bit of what was going on that week last May 2015. A fun playdate. A tale of sickness hitting the three kids. A good friend's thoughtfulness. A fun night at school with the family.

Pocket Page with March Take 10 Kits www.paintedladiesjournal.com

 I had a lot of stories to tell here. Anytime that happens, I typically print my journaling. I did a tutorial last week on how I discovered a quicker, easier way to print my journaling, when I want it to go on top of a physical card. Jump over here to see more on that. 

Pocket Page with March Take 10 Kits www.paintedladiesjournal.com


For this 4x6 card from the March Take 10 Pocket Kit, I chose to print my journaling on vellum so that the pattern would show through. I added those two stickers from my MAMBI stash and the wooden heart is PinkFresh Studios from the Take 10 Glam Bag (sold out, sorry! Hint: Subscribe to the kits and you won't have to worry about missing out.)

Pocket Page with March Take 10 Kits www.paintedladiesjournal.com

I adore this month's stamp sets. That little singing birdie is from the Hello Spring Stamp Set. I stamped him and did a little coloring with my Stampin' Up Stamp & Write marker set. I shared my super Simple Marker Coloring tip in last week's post, Simple Marker Coloring with Stamps.

Here it is again for reference:
1. Give an all over wash of a lighter color.
2a. Determine where a shadow would naturally be (imagine the sun up and to the left for my birds) and use a slightly darker shade of same color family.
2b. Same idea as 2a, but just use more layers of the same marker you used for the wash to make it darker.


That marker set is very versatile. They are double ended (fine point and brush tip). I use them for journaling, stamping, and coloring! If you don't have a Stampin' Up demonstrator, you need one and I've got one for ya. Mary Talbot is one of my besties. She'll hook you up. Her site is here: Stampin' Up - Mary Talbot. In case you don't know, they sell exclusive Project Life sets, too. Check it out. Another little "something about Mary", she makes really awesome planner stickers that you can find on Etsy. Follow her on IG for the info: www.instagram.com/plannerwhimsy 

Pocket Page with March Take 10 Kits www.paintedladiesjournal.com

I have one more Project Life tip to share today. The bottom left 4x6 photograph was created with the PicStitch App. I chose a layout that would allow a 4x4 and a narrow side panel. I brought in a pattern to the narrow side panel and changed it to black & white right in the PicStitch App. Then, I exported that to my cameraroll and brought it into the Phonto app to add the journaling and "BlaineFlix". 

Thanks for reading!

You may also like this post with more detail on using PicStitch.

I use a Canon Pixma to print at home. Here are a few affiliate links, if you so chose. I print some of my photos and home any journaling I decide to print.
 
When you are buying vellum for running through your printer, make sure it is for your type of printer. Here is a link to vellum for an inkjet printer:
    

A few other supplies used:

Pinkfresh Studio - Felicity Collection - Block Wood Stickers - Color  

Tuesday, April 5, 2016

Simple Marker Coloring with Stamps

It was such a sweet visit to the kindergarten classroom to meet the baby chicks that hatched. They are so cute and the kids love them and were so gentle with them. It was amazing! The March Take 10 Kit (Pocket Kit and Glam Bag) from Studio 29 Designs was a great match for these pictures. Baby chicks mean spring time to me!

Spring Pocket Page using March Take 10 Kits from Studio 29 Designs; www.paintedladiesjournal.com


I decided to leave a lot of white space on these cards. White space is good. You shouldn't feel like you have to fill in white space when you see it. Give yourself permission to intentionally leave it. 

Spring Pocket Page using March Take 10 Kits from Studio 29 Designs; www.paintedladiesjournal.com

I printed my journaling on vellum so you could still see the lines behind. I have a little tutorial I want to share on what I did for printing my journaling from my phone. Go here if you would like to see that!
I stamped that little bird on white cardstock so that I could cut it out and use a pop dot for dimension. And there is my pop of color on that black and white card!

Hello Spring Stamp Set

Spring Pocket Page using March Take 10 Kits from Studio 29 Designs; www.paintedladiesjournal.com

On my bottom 4x6 card, I had some fun placing sequins throughout the floral design. I cut up that "Spring Fever" 3x4 card to make a coordinating tab. (And I can use the other half on a different layout!) I made another little stamped bird for this card, too. For both birds, I got out my Stampin' Up Stamp & Write marker set. I am not a marker coloring guru, but I have watched a few tutorials. I have one tip to share that ANYONE can pull off. It can be done two ways. All I did here was give these critters a wash of a lighter shade of blue and then add a little bit of darker blue for a shadow under the wing. So cute and easy. You don't have to be an expert colorist. 

Simple Marker Coloring:
1. Give an all over wash of a lighter color.
2a. Determine where a shadow would naturally be (imagine the sun up and to the left for my birds) and use a slightly darker shade of same color family.
2b. Same idea as 2a, but just use more layers of the same marker you used for the wash to make it darker.

That marker set is very versatile. They are double ended (fine point and brush tip). I use them for journalling, stamping, and coloring! If you don't have a Stampin' Up demonstrator, you need one and I've got one for ya. Mary Talbot is one of my besties. She'll hook you up. Her site is here: Stampin' Up - Mary Talbot. In case you don't know, they sell exclusive Project Life sets, too. Check it out. 

Spring Pocket Page using March Take 10 Kits from Studio 29 Designs; www.paintedladiesjournal.com

My last detail photo shows a homework sheet that my kindergartner brought home during their study on baby chicks. It is so fun to include with these photos to tell some of the story through her eyes. I just took a photo of it and printed as a 4x6 on cardstock. 

Go find some baby chicks to visit this spring. They are so fun to observe.