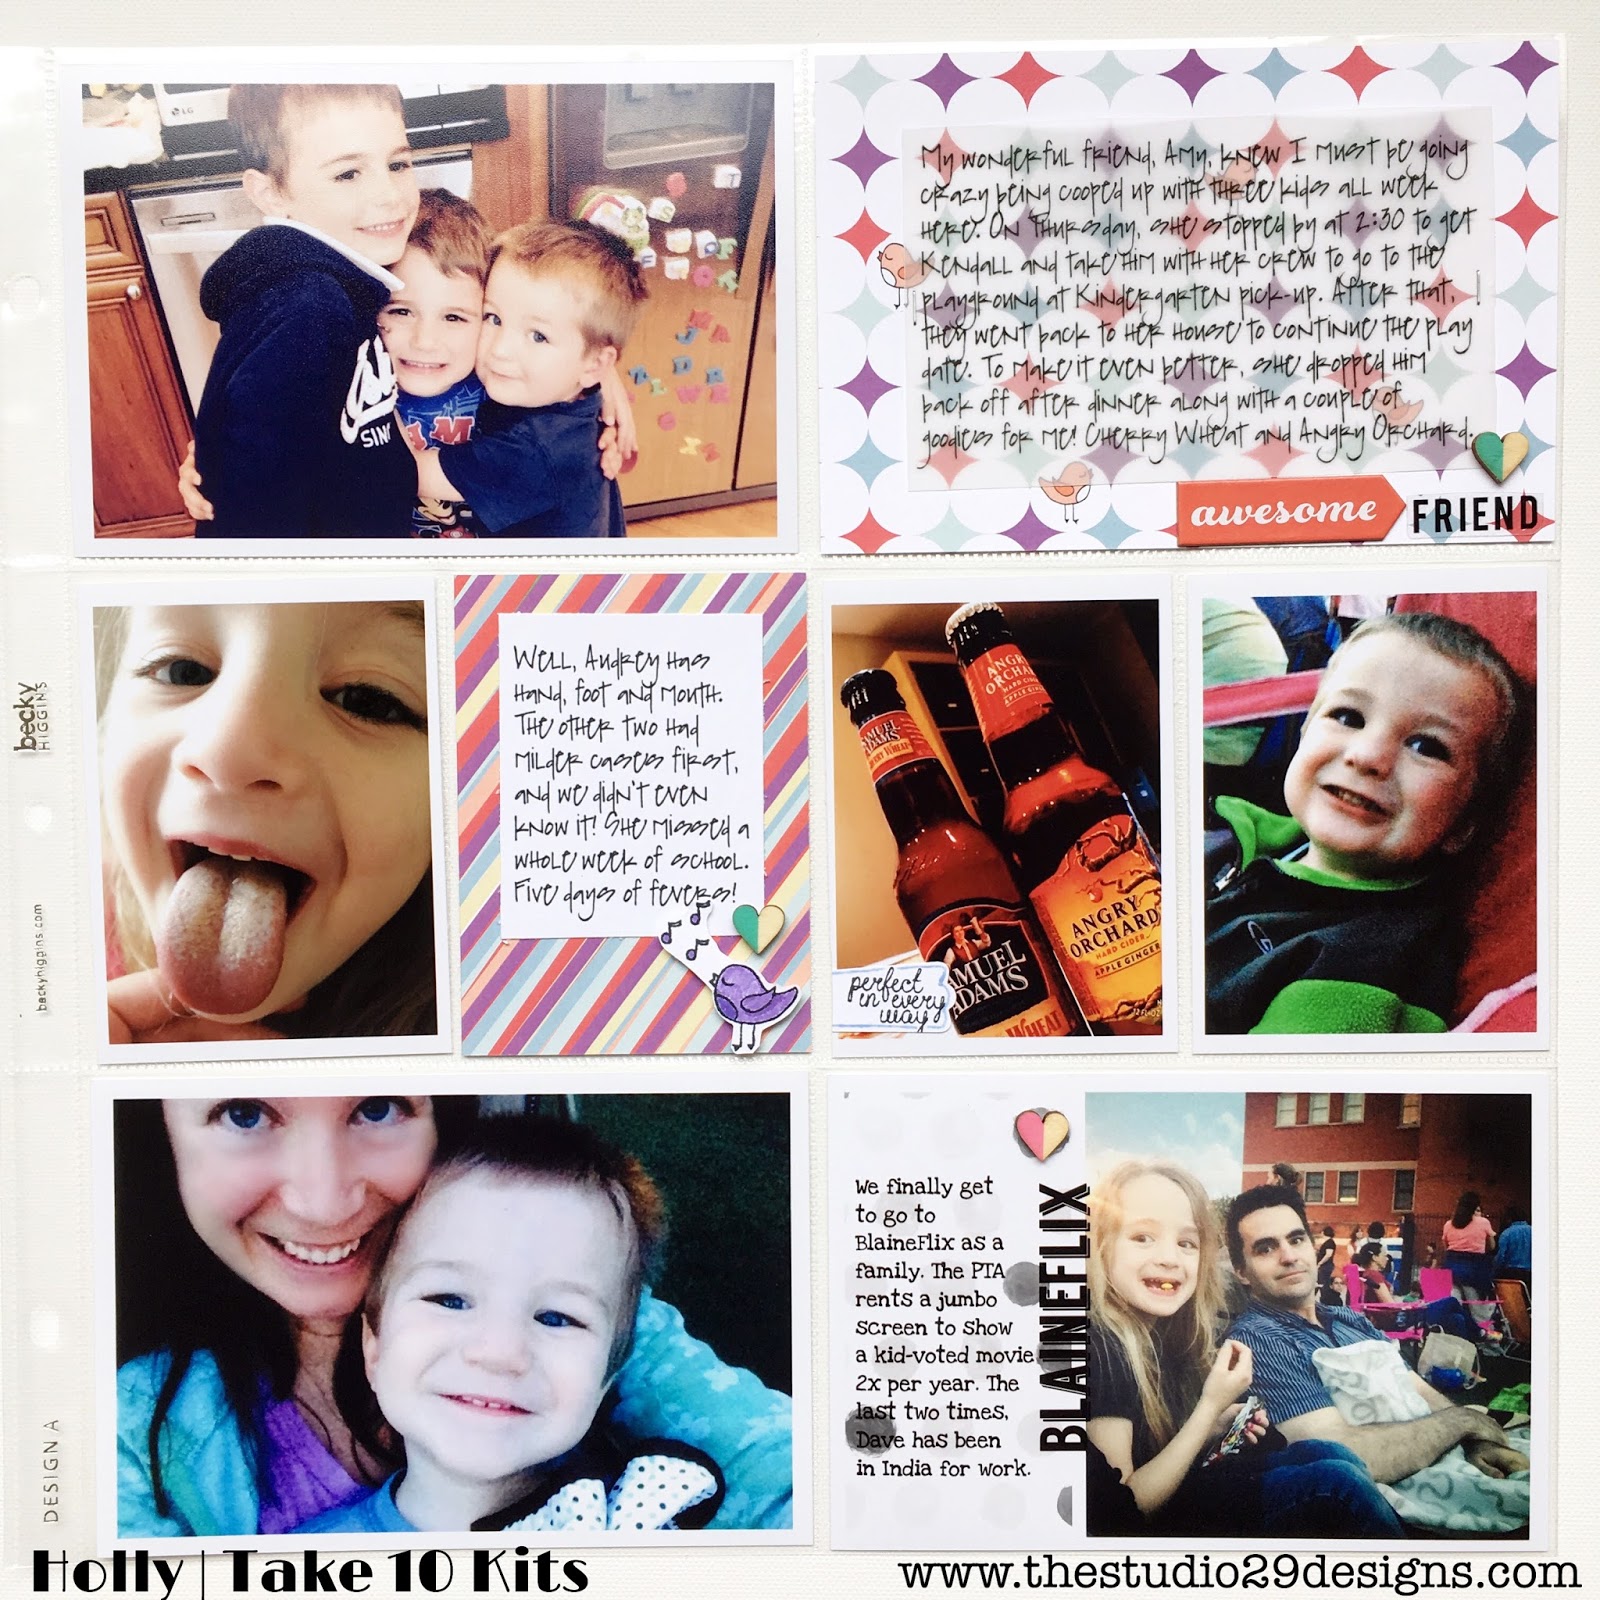
Today's layout inspiration is a typical Project Life layout. A little bit of what was going on that week last May 2015. A fun playdate. A tale of sickness hitting the three kids. A good friend's thoughtfulness. A fun night at school with the family.
I had a lot of stories to tell here. Anytime that happens, I typically print my journaling. I did a tutorial last week on how I discovered a quicker, easier way to print my journaling, when I want it to go on top of a physical card. Jump over here to see more on that.
For this 4x6 card from the March Take 10 Pocket Kit, I chose to print my journaling on vellum so that the pattern would show through. I added those two stickers from my MAMBI stash and the wooden heart is PinkFresh Studios from the Take 10 Glam Bag (sold out, sorry! Hint: Subscribe to the kits and you won't have to worry about missing out.)
I adore this month's stamp sets. That little singing birdie is from the Hello Spring Stamp Set. I stamped him and did a little coloring with my Stampin' Up Stamp & Write marker set. I shared my super Simple Marker Coloring tip in last week's post, Simple Marker Coloring with Stamps.
Here it is again for reference:
1. Give an all over wash of a lighter color.
2a. Determine where a shadow would naturally be (imagine the sun up and to the left for my birds) and use a slightly darker shade of same color family.
2b. Same idea as 2a, but just use more layers of the same marker you used for the wash to make it darker.
Thanks for reading!
Holly from www.paintedladiesjournal.com
You may also like this post with more detail on using PicStitch.
I use a Canon Pixma to print at home. Here are a few affiliate links, if you so chose. I print some of my photos and home any journaling I decide to print.


When you are buying vellum for running through your printer, make sure it is for your type of printer. Here is a link to vellum for an inkjet printer:

A few other supplies used:


Try This Amazing app Farming Simulator 14 Mod Apk
ReplyDelete