Tuesday, April 28, 2015

SheGlossy Design Team

Holly Genc, here. I'm so excited to share some news with you today! I've been selected to be on the first design team for SheGlossy. Check out their product. It's fabulous! I can't wait to start creating and sharing my projects/layouts with you here. I'm joining an amazing team of some very talented creatives. Four of us are on the Srapbook Team (that's me) and four are on the Planner Team. Check them out here: Design Team. Start following them all to keep updated on SheGlossy.


Here's some sneaks of SheGlossy products:


Instagram: sheglossy
Pinterest: sheglossy
Website: www.sheglossy.com

Friday, April 3, 2015

Mommy Daughter Trip Project Life Spreads

My daughter and I went on our first extended weekend trip together in January. She is my six-year-old kindergartner, and my oldest child of three. Some one-on-one time with a parent is scarce, so this was great for us. We flew to Connecticut to visit a long time childhood friend of mine, who also happens to have a kindergarten-age daughter. 


Can I tell you how fun it was to see them together?? It was like looking through a time machine mirror at ourselves. Hmm, good movie/book premise. I call dibs on that.

One really, really fun thing we did that I am so, so excited to share was some very special photos. I had taken some fun photos of the girls having some hot chocolate after a sledding adventure. They were sitting side-by-side at the kitchen island being goofy and having fun. Well, the next night, my friend and I re-enacted the photos of our daughters. It was too much fun. I highly recommend it.


I requested help from Jill's mom (and fellow scrapbooker) for some fun childhood photos of Jill and I. I thought this one was perfect. It's so interesting to compare all these photos side by side!


I chose to put the older photo on clear acetate and cover the back side with a vertical 4x6 card where I wrote some funny "how to" instructions. I wanted the photo to be by itself but still be "with" the modern remakes. The overlay effect with the acetate in a 5x7 page protector did the job. 


I'm really loving the white borders. This might be the new thing in the 2015 album. I usually hand-write my journaling but opted to print it out. Most of the cards I chose had lines or grid that I didn't want to cover, so I printed on vellum. 


Below are some close-ups of the details in these spreads. I really tried to use my stash in these layouts. The only newer items are the Studio Calico wood veneers. 


Happy Scrapping!
And special thanks to my bestie, Jill Winter, for letting me post these photos AND to her mom, Marcia Winter, for taking the time to send me some very special photos. 
xoxo
Holly Genc


Monday, March 23, 2015

RAK for Baby Boy Kit

Hello Scrappers! I'm giving away a couple partial Sweet Baby kits to Painted Ladies Journal followers. This was an original Becky Higgin's "Sweet Baby" kit. Most of the papers are reversible, meaning one side is girl and one side is boy. I've split this up into a girl set and a boy set. There is about an 1" stack of 4x6 (cut down to 3x4's, as need), coordinating stickers, chipboard and photo corners. Here's how it works. First, these two RAK's are for US residents, only. I'm so sorry, international friends. I'll be sure to focus on you all at a later time. 

1. Like us on facebook, here: https://www.facebook.com/Paintedladiesjournal
2. Follow us on instagram, here: https://instagram.com/paintedladiesjournal/
3. Follow us on Pinterest, here: https://www.pinterest.com/PtdLadiesJournl/
4. Comment on this blog post (provide your name and city) for a chance to win the BOY KIT. (Go here for the Girl kit)

I will pick a random winner on Saturday, March 28th at 9PM CST. 

RAK for Baby Girl Kit

Hello Scrappers! I'm giving away a couple partial Sweet Baby kits to Painted Ladies Journal followers. This was an original Becky Higgin's "Sweet Baby" kit. Most of the papers are reversible, meaning one side is girl and one side is boy. I've split this up into a girl set and a boy set. There is about an 1" stack of 4x6 (cut down to 3x4's, as need), coordinating stickers, chipboard and photo corners. Here's how it works. First, these two RAK's are for US residents, only. I'm so sorry, international friends. I'll be sure to focus on you all at a later time. 

1. Like us on facebook, here: https://www.facebook.com/Paintedladiesjournal
2. Follow us on instagram, here: https://instagram.com/paintedladiesjournal/
3. Follow us on Pinterest, here: https://www.pinterest.com/PtdLadiesJournl/
4. Comment on this blog post (provide your name and city) for a chance to win the GIRL KIT. (Go here for the boy kit)

I will pick a random winner on Saturday, March 28th at 9PM CST. 

Monday, March 16, 2015

Some additional Travel pages

I will occasionally share some additional Spain vacation albums on the blog.  My album will be a mix of kits - but in general will be on the more masculine end of the scale since I have lots of building pictures and my sons don't enjoy lots of flowers...Publishing keeps me accountable and I love to share the great experience we had!


Just Jaimee's Bryce Storyteller Collection - Pre Made pages Ready-To-Go-12-x-12-Pocket-Page-Templates-Weeks-10-14-Storyteller-Bryce-Add-On.html


Detail of right page


Using Just Jaimee's Bryce Storyteller Collection - Quick Pockets & Frames from The Lilypad Quick Pockets & Frames from The Lilypad


Monday, March 9, 2015

Project Life Disney Album: Part 2

I'm back with another post about my Disney Project Life album using Sahlin Studio's Project Mouse. This time I'm going to be sharing 3 things I think you might also like to use. Two of the three items are free. Yay, free stuff.

First Item: In my previous post, I hastily mentioned a very helpful, amazing PS/PSE action that I'm using. Actually, it's a script that you, too, can install. Here's how it works: You create your digital 12x12 Project Life layout and if you are going hybrid, like moi, you want to print individual 4x6 pieces to put in your physical pocket pages. Now, the easy way to do this (note: I did not do it this way, of coarse) is to then save the file as a jpg so that it's all one layer, run the script and waa-laa, it sends (6) 4x6 jpg's to the same folder where the original file resides. Neat. Easy-peasy. Done and done. Ok, I'll stop dragging on, go here and download it. Anika's blog has some good stuff. She also has a video for the simple way of using the script. She's an engineer and as far as I'm concerned a genius. I haven't explored her whole blog. Probably more stuff we want there. Start following her. You'll thank me. You're welcome. Oh, and she's a PLJunkie Creative Team Member. Since there are over 10,000 members in the facebook group, I'm guessing you know what I'm talking about.

Back to that nagging question that I know you all are asking (or not, but I'm sharing anyways). What is it she is doing and WHY ON EARTH not do it the easy way? Well, the short answer is that I'm a complicated woman, people, like most creative types. The actual concrete answer is that since I'm doing two types of books (refer to previous blog post), I have certain needs. It might be less complicated to just tell you "I'm complicated". For my parents' Shutterfly book, I want the straight-forward- stitched-template-with-rounded-corners look.
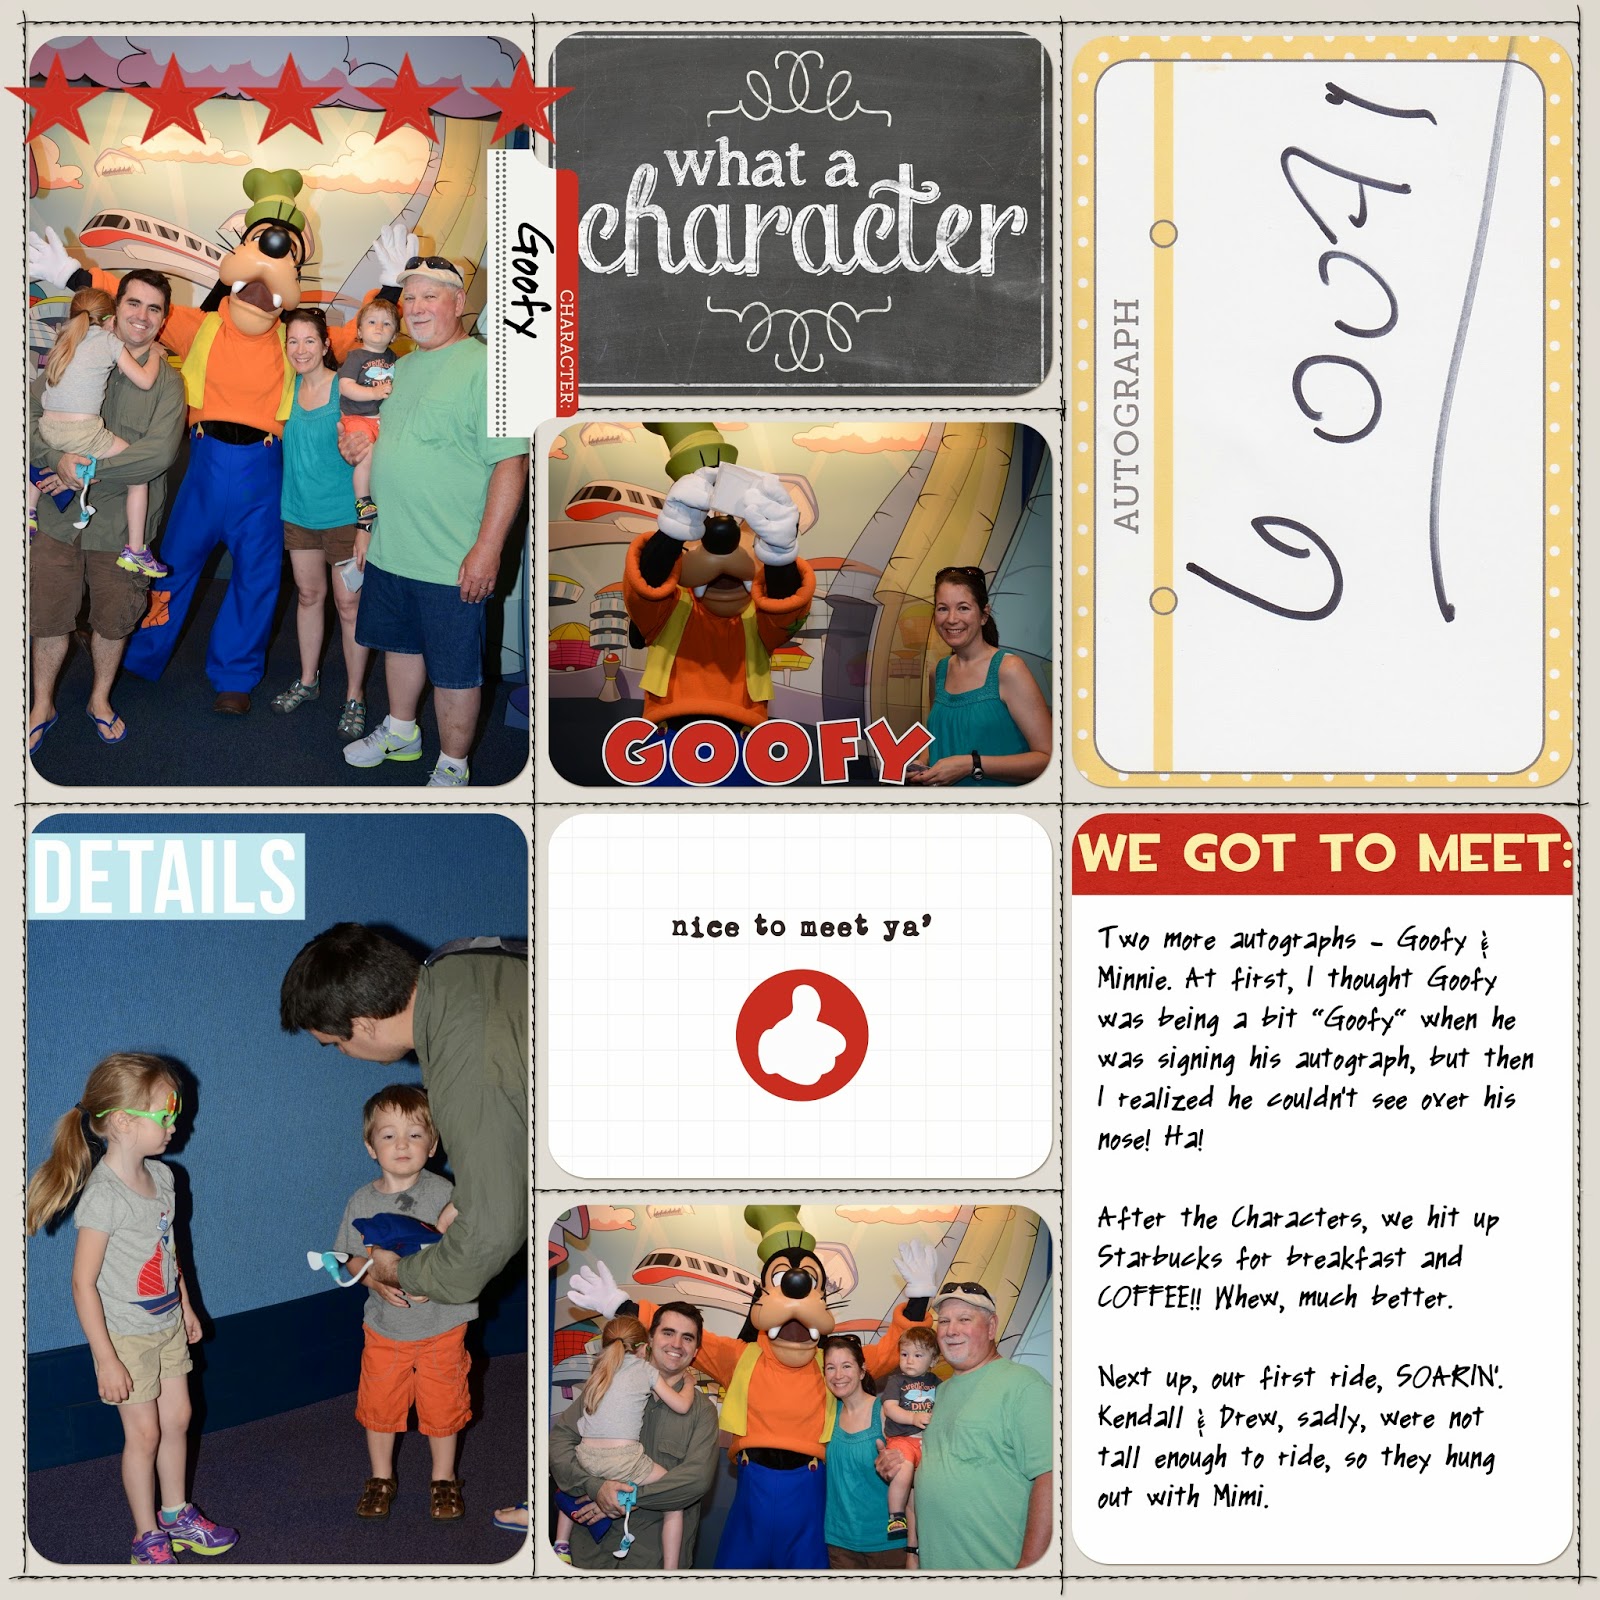
Shutterfly Version with rounded corners
Then, for my hybrid album, I want square corners. This means, it's now a several step process. Here it is:
  1. Create Shutterfly version with rounded corners  
  2. Save it. In fact, just upload that to Shutterfly now as a way to back it up, just in case the unthinkable happens. I won't even say it out loud. Bad juju.
  3. Save as new file. Adjust the 12x12 layout so it fills the page edge to edge with no rounded corners. I undo all the masks and turn off the stitch pattern to make it work.  (Turn on the grid to help line it up, but don't sweat it. Don't try to get it perfect because you will be trimming them down anyway)
  4. After getting them squared off, I put any journaling cards together and photos together. That way, I can print journal cards on cardstock and photos on photo paper. It's just smart. 
  5. Now you save again as a jpg. 
  6. Finally, you are ready to run the script on that jpg. Go to File, Automation Tools, and (if you've installed it) it will show up as "Save 12x12 to 6x4" 
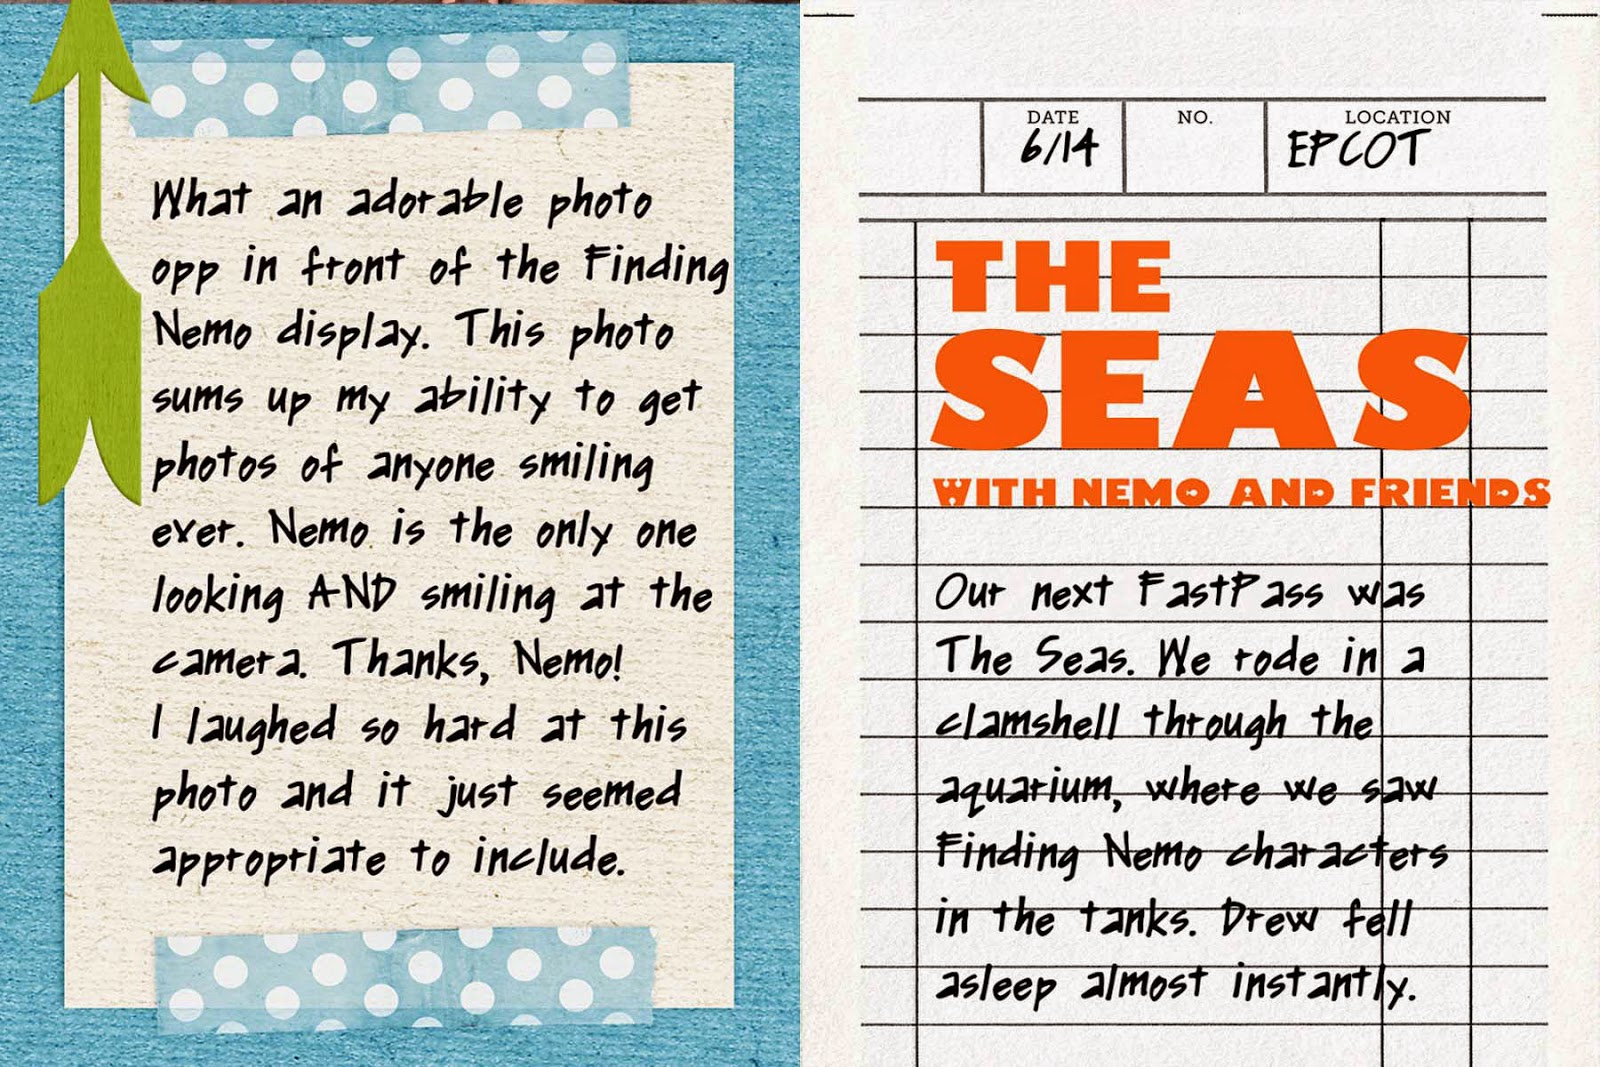
    Print on cardstock

    Print on photo paper
Second Item: All of my Disney Album templates are the stitched grid pocket pages designed by Traci Reed. Love them. They just look great with anything. It's like the little black dress of digi-scrapping. This is the set of templates that I am using in the Shutterfly book version. My co-blogger, Luly Gonzalez, (sidenote: I thought I made that word up, "co-blogger", but I didn't. Apparently, it's all the rage. So, go find a best bud and get co-blogging. It's a hot new thing. At least, I'm trying to make it a thing. Pass it on.) Luly, she's my co-blogger, remember? She introduced me to Traci Reed (well, not LITERALLY, but you know, her stuff.) Check it out. Good stuff.

Third and FINAL item: Another freebie. Our first day, if you noticed by the pictures or because I probably already said it, was at Epcot. I found some free fonts that matched the rides we did and places we visited there. Super fun to use. Go grab them right HERE. (And btw, WDW Prep School is a brilliant resource for planning a trip to the happiest place on earth)
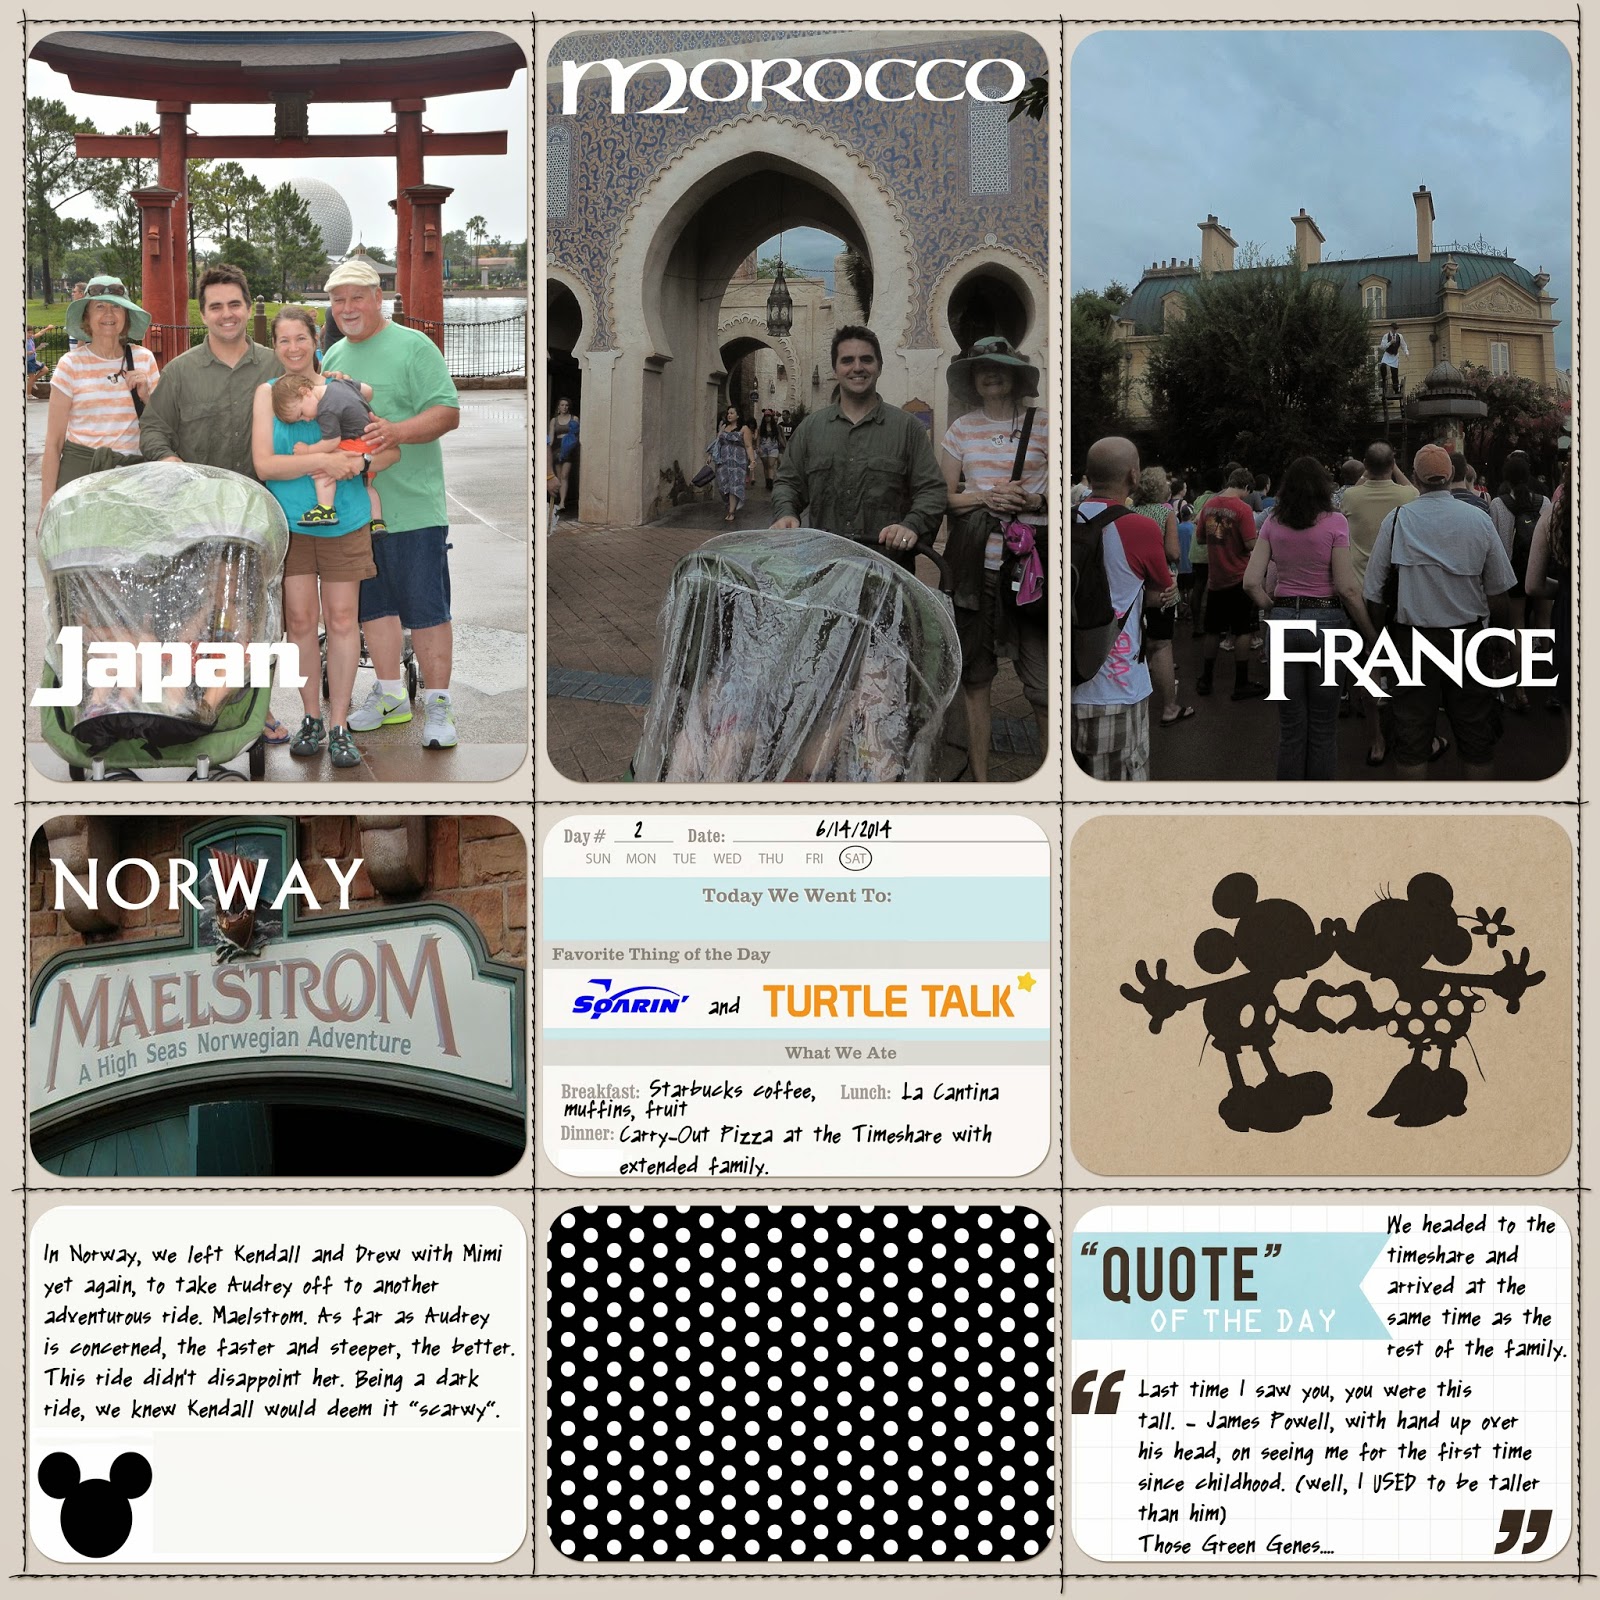
Fun Epcot Fonts in use.
Our next day was at Animal Kingdom, so come back soon to see what I'm using for those pages. Fun safari stuff. 

Holly Genc


Tuesday, March 3, 2015

European Vacation Album and FINISH in action!

Just Jaimee Hunter Ready to Go templates at The Lilypad
So as we talked in a previous blog post setting goals is definitely a way to motivate some or overwhelm others… luckily I am in the former camp.  I have some pretty big goals and big scrapping  goals for this year - a few of which I will share here with you on the blog.


First - I want to document my fabulous trip to Spain that I was able to take with my family over the Christmas holidays - we had planned for this for over a year.  I want to document this journey while it's still fresh in my mind and I can add in all the details that get lost in my albums when I finish projects months or years (usually years) after the events have happened!  I am using a combination of Pocket Page protectors (Traci Reed Stitched Grids - Sweet Shoppe Designs) and Just Jaimee Storytellers products.  I am guest posting in March - and I cannot wait for everyone to see all the great products that Jaimee has lined up!!! I love Just Jaimee's Storyteller products - they are so incredibly versatile.  There are tons of patterned & solid papers, 2 templates, 2 pocket templates, a million elements, pocket cards (all sizes, journaling and filler cards) and even cut files, alphas…I could just go on!  Can you tell I'm in love?? Jaimee's design style fits so many different design sensibilities - I have loved every Storyteller kit and it helps me push myself in different directions.   She has just started a subscription at The Lilypad which offers the whole kit for a great price Just Jaimee Storyteller Subscription.  I also love all the add on's for every month like planner pages and pre-designed templates with all the elements placed for amazingly quick and fun pages.

Here are a few more examples of the pages I've completed to date:
Spain Album cover
Just Jaimee Storytellers Collection - Hunter
New Years Eve
Just Jaimee- Storytellers Hunter Collection - Pre-designed pages Hunter collection.  
Aren't these amazing?


I will focus on the two facing pages matching, but not worry about using different kits throughout the album.  I have a few selected kits in a folder with shortcuts in a folder on my PC, that way I don't have to continuously look in my stash to find the kits I want to use.

Here is the screen shot of @Spain folder - inserting the symbol keeps it at the top of the feed.  I can add to the shortcuts as I find more kits that I want to use or that I buy...
I'll be posting additional pages as I complete them for my album.